Aluminium Inner Bracket with Top Thread M5 M6 M8 for 20 to 40 mm T-Slot Profiles
A hidden inner bracket with top thread for aluminium T-slot profiles, supplied in M5 x 6, M6 x 8 and M8 x 10 to suit 6.2, 8.2 and 10.2 mm grooves. No visible fixing and no profile end machining.
| Material | Zinc alloy or aluminium body with steel set screw |
|---|---|
| Alloy Grade | Zamak 3 die casting or 6063-T5 body, 304 stainless set screw |
| Temper | custom |
| Section Size | 30 x 21.2 x 8 mm body with a 1.4 mm flange |
| Slot | Suits 6.2, 8.2 and 10.2 mm grooves, M5 to M8 thread |
| Length | Stocked to suit 20, 30 and 40 series profiles |
| Tolerance | ISO 8062 die casting | ISO 2768-m machining |
| Surface | Zinc plated or natural finish |
| MOQ | 500 |
| Lead Time | 15-25 days after deposit |
| Loading Port | Shanghai / Ningbo |
| Supply Ability | 1.5 million pieces per month |
| Payment Terms | T/T 30% deposit + 70% before shipment | L/C at sight |
| Trade Terms | FOB | CIF | EXW |
| Certifications | ISO 9001:2015 | RoHS | REACH |
Connecting elements · Hidden joints
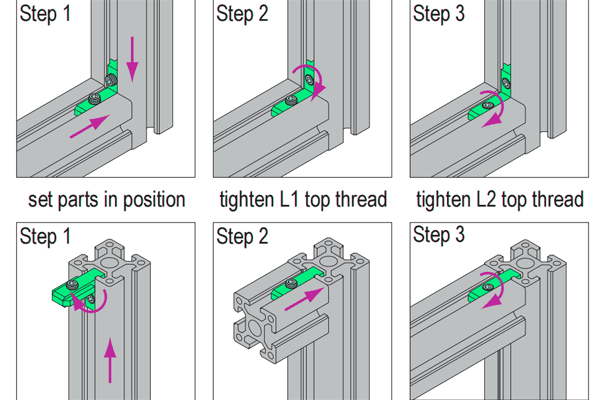
An inner bracket with top thread is a hidden profile connector that slides into the groove of both members and is locked by a set screw driven down onto the groove floor. The bracket measures about 30 mm long, 21.2 mm high and 8 mm wide, with a 1.4 mm locating flange along each edge, and it is made in three sizes: M5 x 6 for the 6.2 mm groove of 20 series, M6 x 8 for the 8.2 mm groove of 30 series and M8 x 10 for the 10.2 mm groove of 40 series.
The reason this joint works is worth understanding, because it is not a bolted joint at all. A T-slot has an undercut: the mouth of the groove is narrower than the cavity behind it, and the bracket’s 1.4 mm flange sits in that undercut. When the set screw is tightened it pushes the bracket body down and away, and because the flange is trapped behind the narrow mouth, the bracket is wedged against the profile. The joint is held by the geometry of the slot, not by the tension in the screw.
The joint is held by the undercut, not by the screw
Every T-slot profile has a groove whose mouth is narrower than the cavity behind it. On the 20 series the mouth is 6 mm against a 6.2 mm groove; on the 30 series it is 6 mm against 8.2 mm; on the 40 series it is 8 mm against 10.2 mm. That undercut is what a T-slot nut engages with when you slide it in from the end, and it is what this bracket uses as well.
The bracket body is inserted into the groove of the first member, with its 1.4 mm flange sitting behind the narrow mouth. The second member is brought up to it, and a set screw is driven down through the top thread until it bears on the groove floor. Tightening the screw pushes the bracket body sideways and downwards, and because the flange cannot escape through the mouth, the bracket jams against the undercut. Nothing protrudes, and there is no bolt head anywhere on the outside of the frame.
| Size | Groove it fits | Slot mouth | Bracket section | Typical use |
|---|---|---|---|---|
| M5 x 6 | 6.2 mm (20 series) | 6 mm | 30 x 21.2 x 8 mm | Light display and sign frames |
| M6 x 8 | 8.2 mm (30 series) | 6 mm | 30 x 21.2 x 8 mm | General enclosures and guards |
| M8 x 10 | 10.2 mm (40 series) | 8 mm | 30 x 21.2 x 8 mm | Machine frames with a visible face |
Why the groove matters more than the thread. The thread size follows the groove, not the other way round. A 6.2 mm cavity will not take an M8 body, and an M5 body in a 10.2 mm groove would have nothing to wedge against. Match the size to the series before anything else.
The only joint that leaves no mark at all
Every other connector family in the range leaves some trace. A bracket is visible on two faces. A cubic connector is a visible block. A screw connector is hidden but needs a drilled core hole in the profile end. An end face connector is hidden but needs a tapped end face, which means the profile has to be cut, faced and threaded.
The inner bracket with top thread needs none of that. The profile ends stay square and closed, the faces stay untouched, and the only operation is the set screw going in from the groove. On a display frame, a door frame, a reception counter or any structure where all four faces are seen, it is the only joint in the range that produces a genuinely seamless corner.
Where this joint is the wrong answer
Because the joint is a wedge rather than a positive mechanical lock, it has two clear limits and it is worth being honest about both.
First, it is not a tension joint. The bracket resists the two members being pushed together and resists shear, but a load that tries to pull the members apart acts to un-wedge the bracket rather than to seat it harder. Where a member hangs or is pulled, use an end face connector or an anchor connector instead, both of which put the load into a thread rather than into a wedge.
Second, it is not a joint to be re-tightened weekly. Each tightening of the set screw bites into the groove floor. Two or three assembly cycles are fine; a joint that is opened every week will eventually lose its seating and start to move. For a frame that has to come apart regularly, use a bracket.
Assembling a hidden joint
- Cut the members square and deburr the groove The bracket slides along the groove, so a burr rolled over by the saw will stop it dead. Run a deburring tool along both slot mouths before assembly.
- Slide the bracket into the groove of the first member Insert it from the end of the member before that end is closed by anything else. This is the step that has to be planned into the build sequence.
- Bring the second member up and check the alignment Slide the second member onto the bracket and check that the faces are flush and square before tightening anything. The joint self-aligns only while it is loose.
- Tighten the set screw firmly but not excessively The set screw bites into the groove floor. Firm contact plus a quarter turn is enough; over-tightening deforms the floor and reduces the grip on the next assembly.
- Cover the groove if the frame is a visible one A slot cover closes the remaining open groove and finishes the frame. Leave the grooves that will take accessories open.
Frequently asked questions
Will the joint hold if the frame is knocked?
It resists shock well in compression and shear, because the wedge seats harder under load. It is weak in tension, so a frame that can be pulled apart should use end face connectors at the corners that see tension.
Can I use it at the mid-point of a member rather than at a corner?
Yes. The bracket sits anywhere along the groove, so it works as a T-joint in the middle of a member as well as a corner joint. That is one of its advantages over an end face connector.
Does it work on an anodised profile?
Yes. The wedge acts on the groove geometry rather than on bare metal, so anodising does not affect the joint. The set screw will mark the groove floor on an anodised profile slightly more visibly than on a mill finish.
How much load can one bracket take?
Send us the joint load and the series and we will confirm. As a rule, treat a hidden inner bracket as a light to medium duty joint: adequate for enclosures, guards and display frames, not for a machine base carrying a dynamic load.
Do you supply the set screws with the brackets?
Yes. Brackets are supplied with the matching set screws in stainless or zinc plated steel, bagged by size. Tell us the series and we will kit them for the frame.
Send the series and the joint load direction
Tell us which series you are building in and whether the joint will be pulled. We will confirm the bracket size, supply the set screws and quote the frame hardware as a kit.
Request a QuoteRelated Products
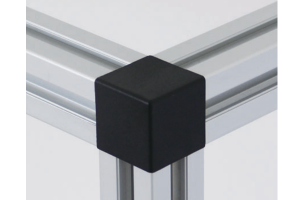 Aluminium Cubic Connector 2020 20×20 mm Three-Way Corner Joint with ABS Cap
A 20 x 20 x 20 mm three-way cubic corner connector for 20 series…
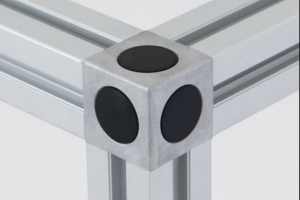 Cubic Connector 4545 45x45x45 mm Three-Way Aluminium Corner Joint Block for 45 Series
A 45 x 45 x 45 mm three-way cubic corner connector for 45 series…
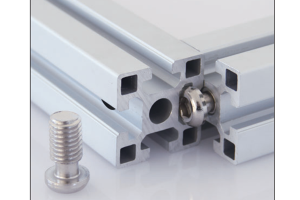 Self-Tapping Screw Connector for Aluminium Profile M6 M8 M10 to 50 mm Series
A self-tapping screw connector for aluminium profiles in M6, M8 and M10. Forms its…
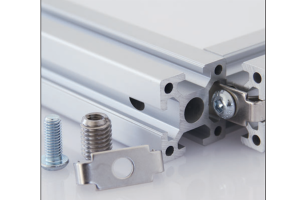 End Face Connector for Aluminium Profile M8 M10 up to 50 mm Series with Spring Clip
An end face connector for aluminium profiles in M8 and M10 with a spring…
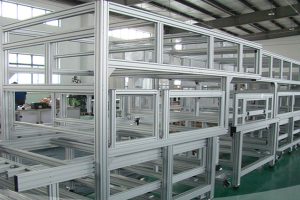 Aluminium Profile Shelf System 40×40 mm T-Slot Uprights for Workshop Racking
A bolted aluminium profile shelf system in 40 x 40 mm T-slot uprights and…
Aluminium Framing Extrusion Kit 40×40 mm 40 Series Cut List for Machine Frames
A cut-to-length aluminium framing extrusion kit in the 40 series: profile cut to a…
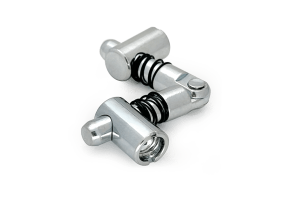 Miter Connector Model C 90 Degree Corner Joint for 40 mm Aluminium Profiles
Miter connector Model C for 90-degree corner joints on aluminium T-slot profiles. Internal tie…
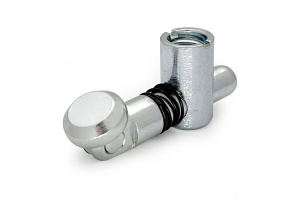 Oblique Connector Model C Angled Joint for 40 mm Aluminium Profiles
Oblique connector Model C for adjustable-angle joints on aluminium T-slot profiles. Internal tie rod,…