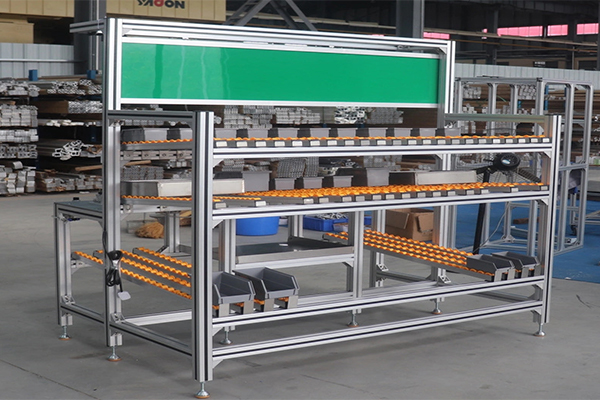
Assembly Line Workstation Aluminium Profile Frame 40×40 mm T-Slot Workbench Structure
A re-configurable assembly workstation frame in 40 x 40 mm T-slot aluminium profile with 40 x 60 mm bench rails, in-slot cable routing and bolt-together construction.
| Material | Aluminium |
|---|---|
| Alloy Grade | 6063-T5 |
| Temper | T5 |
| Section Size | 40 x 40 mm post, 40 x 60 mm bench rail |
| Slot | 8 mm groove, M8 slot nuts, 40 mm pitch, 4 faces |
| Length | 6 m stock, cut to a workstation cutting list to +/-0.5 mm |
| Tolerance | EN 755-9 / GB/T 6892, wall +/-0.15 mm |
| Surface | Mill finish / clear anodised / black anodised |
| MOQ | 100 |
| Lead Time | 18-28 days after deposit for mill finish |
| Loading Port | Shanghai / Ningbo |
| Supply Ability | 300 t per month |
| Payment Terms | T/T 30% deposit + 70% before shipment | L/C at sight |
| Trade Terms | FOB | CIF | EXW |
| Certifications | ISO 9001:2015 | EN 755-9 | RoHS | REACH |
Framing systems · Assembly workstations
An assembly line workstation aluminium profile frame is a bolted structure built from 40 x 40 mm four slot T-slot extrusion, normally with a 40 x 60 mm beam for the bench rails and 30 x 30 or 40 x 40 mm for the upper tool rail and shelf supports. The 40 x 40 mm four slot section runs from about 1.30 kg/m in the light wall up to 2.35 kg/m in the heavy wall, and the 40 x 60 mm bench rail gives approximately 24 cm4 on edge and 13 cm4 laid flat. Everything is bolted, so the workstation can be re-configured on the shop floor without a welder.
What makes a workstation different from a machine frame is that it is designed to be changed. The product, the tooling and the operator all move, and the frame has to follow. That single requirement drives every decision on the page: the bench height is set by anthropometrics rather than by a round number, the cable routing is designed in rather than added later, and the assembly order has to leave the frame re-openable.
Bench height is arithmetic, not preference
The work surface height follows the operator’s standing elbow height, and the rule changes with the type of work. Across a mixed adult population the standing elbow height falls roughly between 950 and 1,120 mm, with a working mean near 1,020 mm. From that single number the bench height for each class of work is a fixed offset, and getting the offset wrong costs throughput long before it costs anyone an injury.
| Type of work | Rule relative to elbow height | Typical bench height | Why |
|---|---|---|---|
| Fine or precision assembly | 50 to 100 mm below elbow | 920 to 970 mm | Brings the work close so the eyes can judge detail without stooping. |
| Light assembly and inspection | 0 to 50 mm below elbow | 970 to 1,020 mm | Keeps the wrists straight and the shoulders relaxed. |
| General bench work | At elbow height | 1,000 to 1,050 mm | Neutral posture with the forearms roughly horizontal. |
| Work needing downward force | 150 to 250 mm below elbow | 800 to 900 mm | Lets the operator use body weight rather than arm strength. |
| Seated work | 200 to 300 mm above seat | 680 to 760 mm | Set by the seat height, not by the elbow, when the operator sits. |
Because the correct height depends on the operator and the task, a fixed welded bench is a compromise. A profile frame is not: the bench rails bolt into the slots at 40 mm pitch, so the working height can be moved in 40 mm steps and then trimmed continuously with adjustable feet. In practice you set the frame near the right height with the slot pitch and take out the last 20 mm of error with the feet, which is exactly the split that a 40 mm system with 50 mm of foot travel gives you.
Build the bench for the shorter operator. If a workstation is shared, set it for the smallest person who will use it and give the taller operators a platform to stand on, not the other way around. Lowering a bench is easy; stretching someone’s arms by 100 mm is not.
Three zones, three heights
A workstation is not one flat surface. It is three zones with different heights and different depths, and a frame that treats them as one ends up with parts and tools fighting for the same space.
Route the cables inside the slot, not around the frame
The single biggest reason shop-floor frames look untidy a year after installation is that the cables were run after the frame was built. The T-slot is a cable duct that comes free with the structure, and it has three accessories that make it work properly.
- Run signal and power cable in separate slots Keep 24 V signal cable out of the slot carrying 230 V or motor cable. If they must share a route, cross them at right angles rather than running them parallel.
- Break out of the slot at the end, not through the face A cable that leaves through the slot mouth is vulnerable to being pulled. Take it out at the profile end and fit a grommet or an end cap with a cut-out.
- Cover the slots that carry cable A slot cover profile or a T-slot cover keeps swarf, coolant and dust out of the duct and stops the cable chafing on the slot mouth. Cover the loaded slots and leave the working slots open.
- Use a reducing strip where a thin cable would rattle A T-slot reducing profile narrows the groove so a small-diameter cable or air line cannot move. It also lets you use the same slot for a cable and a fastener without them interfering.
- Fix a dedicated earth stud, do not rely on the frame Anodised aluminium is an insulator. If the workstation needs an earth connection, bolt a bare metal earth stud to the frame and run a separate conductor. Do not assume the anodised frame carries it.
That last point is worth repeating because it is routinely missed. Anodising is a dielectric oxide layer, and a bolted joint between two anodised profiles is not a reliable electrical path. On an ESD workstation the grounding has to be a deliberate, separate connection — see the 40 series profiles and profile accessories ranges for the end caps, covers and reducing strips used above.
The assembly order decides whether the frame stays re-openable
Here is the mistake that catches almost everyone building their first profile frame. You assemble the four sides of a rectangle, tighten everything, and then try to add a cross member in the middle. The T-slot nut for that cross member has to slide in from the end of the rail — and the rail is now closed at both ends by the corner joints. The nut will not go in, and the only way forward is to take the frame apart again.
There are two fixes and both are worth knowing.
The practical rule for a workstation is: build the outer frame with pre-set nuts loaded at every position you already know about, and keep a bag of drop-in nuts on the bench for everything you add later. That combination gives you the load capacity of a pre-set joint where it matters and the flexibility of a drop-in joint everywhere else.
Frequently asked questions
What section should the bench rails be?
40 x 60 mm four slot on edge for anything up to about 1,500 mm between legs. It gives roughly 24 cm4 on edge against 13 cm4 flat, so the orientation matters more than the section. For a light bench under 1,200 mm, 40 x 40 mm heavy at 2.35 kg/m is adequate.
How much load can the bench take?
Treat the bench as a beam and check the deflection. A 40 x 60 mm rail on edge over a 1,500 mm span will hold a 200 kg evenly spread load inside a span divided by 200 limit. Point loads at mid-span need a separate check.
Can I move the bench later without buying new material?
Yes, that is the point of the system. Cut new rails and re-use the posts, or unbolt and re-assemble at a new pitch. The only parts that are normally consumed are the slot nuts and the fasteners.
Do you supply the frame as a flat-pack kit?
Yes. Send the workstation layout with heights, widths and the accessories you want and we will supply cut lengths, hardware, feet, end caps and covers as a kit with an assembly drawing.
Is an aluminium frame stiff enough for a torque tool?
For hand tools, yes. For a powered nutrunner with a reaction arm, the frame has to be sized for the reaction torque and anchored to the floor. Tell us the torque and the reaction point and we will size the rails and the base.
Send the workstation layout and the bench load
Tell us the bench height, the span between legs, the load and the accessories. We will size the rails and posts and quote the frame as a flat-pack kit with an assembly drawing.
Request a QuoteRelated Products
 Conveyor System Aluminium Profile Extrusion Frame 45×60 mm for Belt and Roller Lines
A bolted conveyor frame in 45 x 60 mm T-slot aluminium profile with 45…
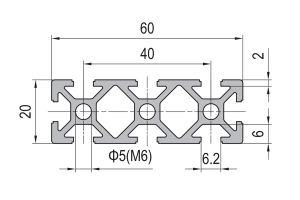 PG20 60 x 20 mm Eight Slot Aluminium Strut Profile Wide Miniature Rail
60 x 20 mm eight-slot aluminium strut profile with 6.2 mm grooves on a…
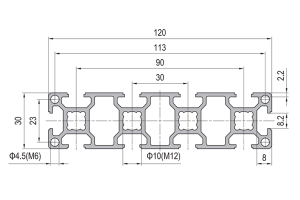 PG30 120 x 30 mm Ten Slot Aluminium Strut Profile Wide Multi Slot Rail
A 120 x 30 mm ten slot PG30 aluminium strut profile wide beam with…
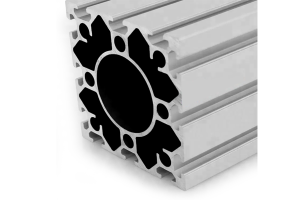 PG40 120×120 mm Twelve Slot Aluminium Strut Profile with 62 mm Centre Bore
A 120 x 120 mm twelve slot PG40 aluminium strut profile with a 62…
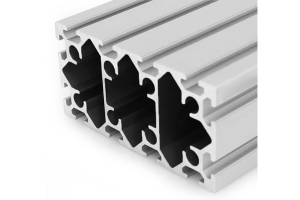 PG40 160×80 mm Twelve Slot Aluminium Strut Profile Heavy Beam for Gantry Frames
A 160 x 80 mm twelve slot PG40 aluminium strut profile heavy beam with…
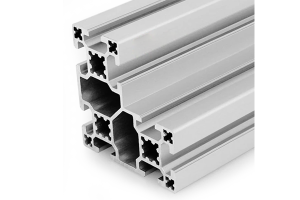 PG40 80×80 mm L-Shape Eight Slot Aluminium Strut Profile Corner Section
An 80 x 80 mm L-shape eight slot PG40 aluminium strut profile corner section…
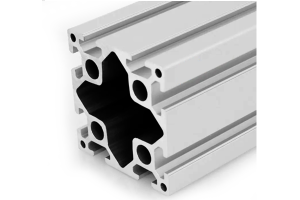 PG40 80×80 mm Eight Slot Heavy Aluminium Strut Profile High Load Column
An 80 x 80 mm eight slot heavy PG40 aluminium strut profile with diamond…
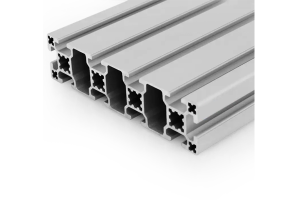 PG40 160×40 mm Ten Slot Aluminium Strut Profile Wide Beam for Overhead Rails
A 160 x 40 mm ten slot PG40 aluminium strut profile wide beam with…